Burst pipes are one of the worst plumbing emergencies. Homeowners and managers alike know the…

What to Do If a Pipe Bursts in Winter: A Homeowner’s Emergency Checklist
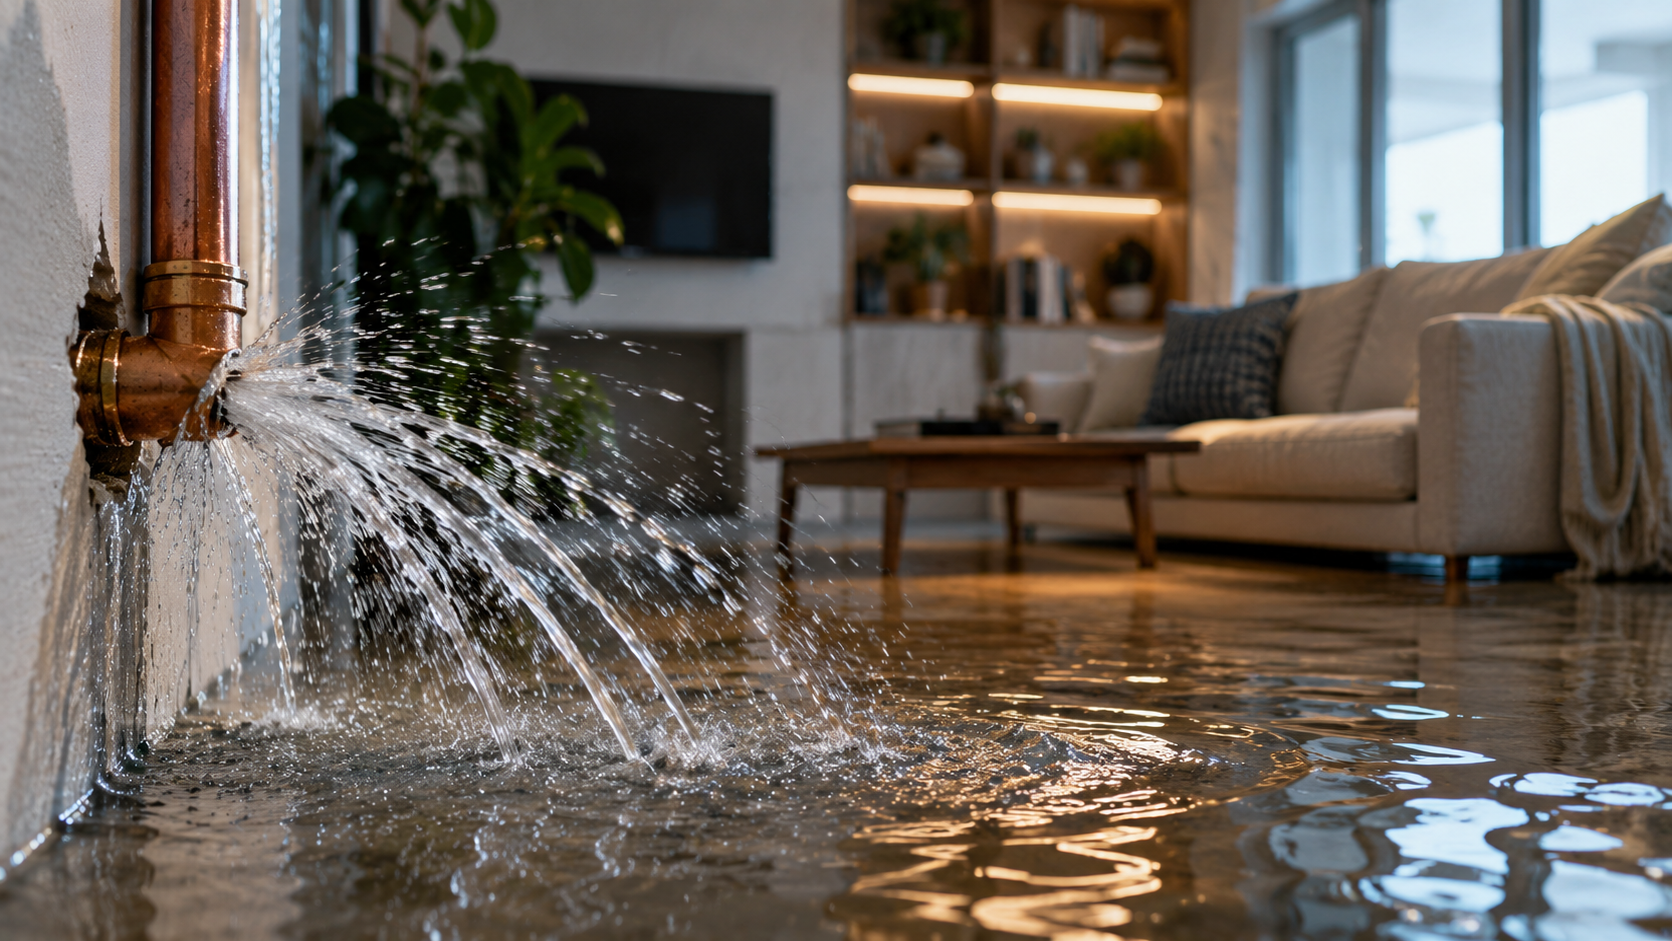
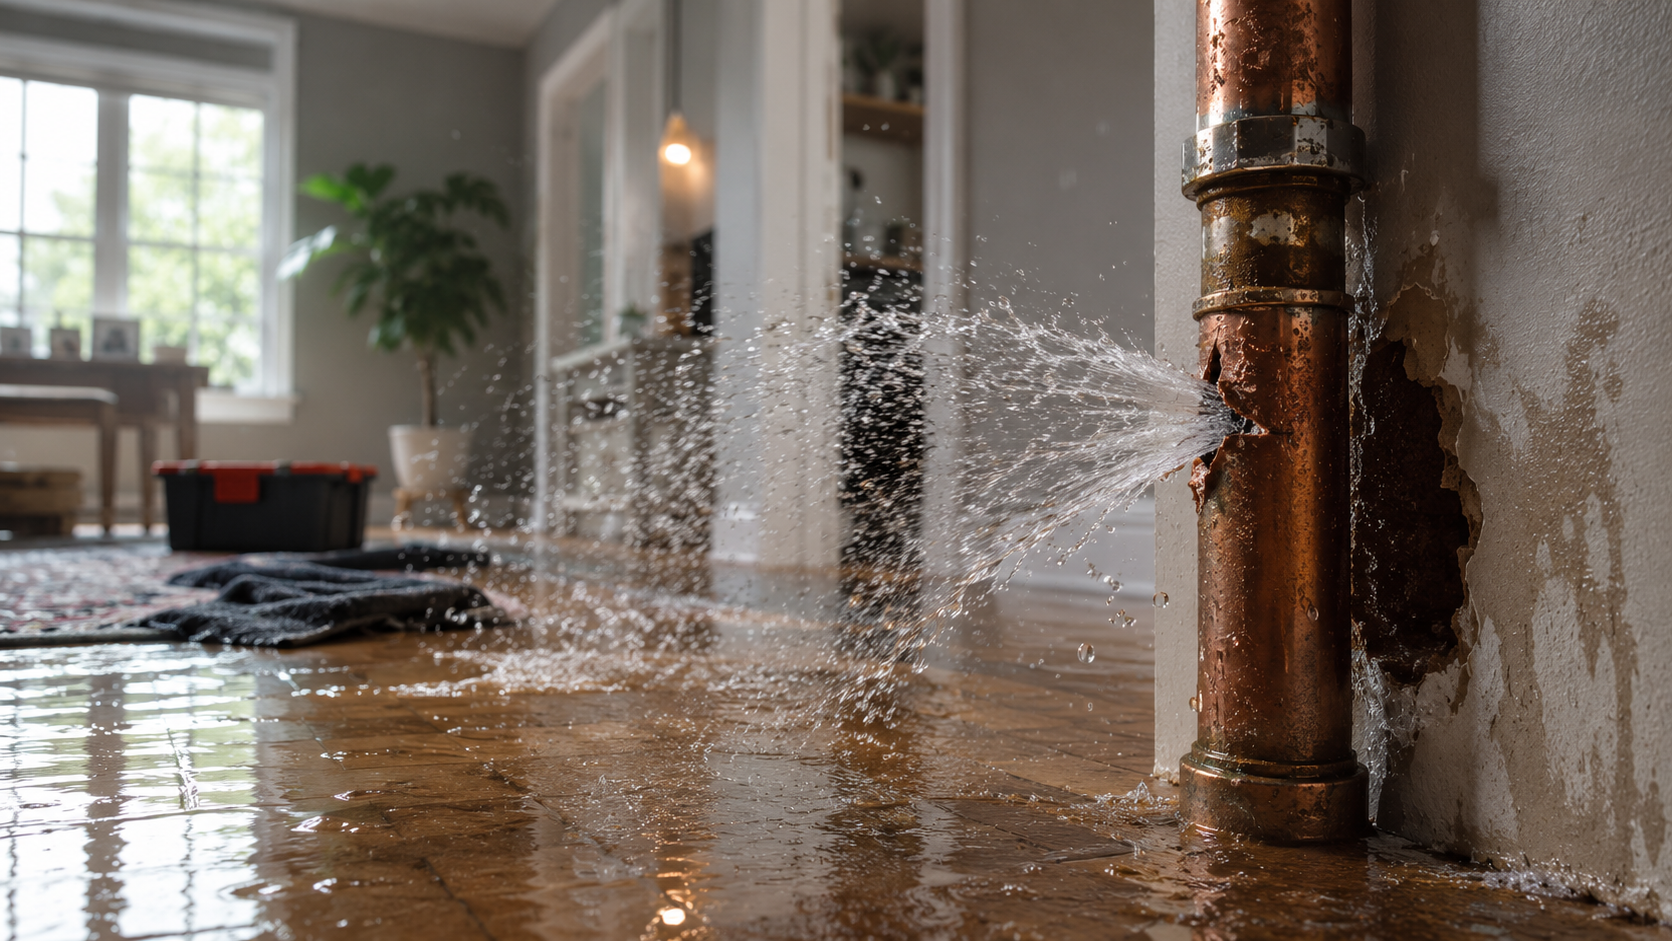
A burst pipe in winter can turn calm mornings into chaos within seconds. One crack can unleash hundreds of gallons of water in minutes, flooding floors, damaging drywall, and ruining personal belongings. Knowing what to do if a pipe bursts—and acting quickly—can be the difference between a manageable cleanup and a devastating restoration bill.
This step-by-step emergency checklist will guide you through the critical first hours, helping you stay calm, minimize damage, and understand why professional restoration is essential to restoring safety and preventing costly long-term issues.
Step 1: Shut Off the Water Immediately
The first—and most crucial—move is to stop the water flow.
- Locate your main shut-off valve: This is usually where the main water line enters your home, near the water meter or basement wall.
- Turn it clockwise to close it completely and halt the water supply.
- If you live in a cold region, familiarize yourself with the valve location before winter—time matters when pipes burst.
Shutting off the water prevents ongoing flooding while you deal with what’s already leaked.
Step 2: Cut Off Electricity in the Flooded Area
Water and electricity don’t mix. Before stepping into a flooded section of your home:
- Go to your electrical panel and shut off power to the affected areas.
- Never touch electrical appliances, cords, or outlets that have been submerged.
- If water levels are near outlets or switches, call an electrician before turning off breakers.
This simple step prevents electrical hazards and shock risks during your initial response.
Step 3: Drain the Plumbing System
Even after the water supply is turned off, residual water remains in your pipes. Drain it to relieve pressure and reduce further leaks.
- Open every faucet—both hot and cold—to empty lines completely.
- Flush toilets several times.
- Turn off your home water heater to prevent it from running dry.
Doing this reduces pressure throughout your plumbing system and prevents additional cracking as temperatures fluctuate.
Step 4: Contain the Damage
Absorb or divert water as best you can before structural materials soak it up.
- Use towels, mops, or buckets to clear standing water.
- Place pans under active drips.
- Move valuables, electronics, and furniture out of the area as fast as possible.
- If ceilings bulge, don’t pierce them—they may collapse. Step back and wait for professionals.
While you can’t undo the burst, quick containment minimizes the severity of later repairs.
Step 5: Locate the Break (If Accessible)
Identifying where the pipe broke helps emergency crews start repairs faster.
Look for these signs:
- Frost or condensation on exposed pipes.
- Damp drywall, ceiling stains, or bubbling paint.
- Unexpected puddles near baseboards or cabinets.
If the break is visible and easy to reach, wrap it with rubber strips or duct tape and secure with a clamp or towel. This won’t fix the pipe, but it can temporarily control leaks until professionals arrive.
Step 6: Call a Professional Immediately
The faster you get help, the less damage you’ll face. Search for burst pipe repair near me and contact licensed specialists who provide 24/7 emergency response.
Local companies like Quick Response Restoration arrive within minutes, not hours—bringing the right tools to assess, repair, and start drying your home before mold and rot take hold. Professionals deliver:
- Thermal imaging and moisture detection to locate unseen damage.
- Pipe repair or replacement using high-quality materials.
- Water extraction and structural drying using commercial equipment.
- Sanitization treatments to prevent bacteria or mold.
Attempting DIY fixes can worsen damage or void insurance claims. Always involve certified restoration professionals following an emergency shutoff.
Step 7: Contact Your Insurance Company
Once you’ve contained the immediate problem, call your insurance provider to report the incident.
Have these ready:
- Date and time of discovery.
- Photos and videos of affected areas.
- An estimate or inspection report from your restoration provider.
Many insurers cover burst pipes if caused by freezing; prompt reporting improves claim approval odds. Quick Response Restoration can assist with complete documentation, helping you navigate claim forms quickly.
Step 8: Start Drying Right Away
Even after repairs, residual moisture can destroy drywall, flooring, and framing from within. Professionals bring industrial-grade drying equipment like:
- High-velocity air movers to circulate air.
- Large-capacity dehumidifiers that remove moisture.
- HEPA filtrations to capture airborne particulates.
This step prevents the “secondary damage” timeline—mold developing within 48 hours and permanent warping by 72 hours if water lingers.
Step 9: Sanitize and Deodorize the Area
Water from a burst pipe often flows through walls and crawlspaces, leaving behind contaminants. A professional cleanup includes:
- Antimicrobial treatments to destroy bacteria and mildew.
- Odor neutralization with ozone or hydroxyl generators.
- Disinfection of floors, walls, and baseboards before repair or repainting.
This step ensures your home is safe for your family again—not just dry.
Step 10: Prevent Future Pipe Bursts
Once everything’s repaired and dried, preventive maintenance can spare you the stress next winter.
- Insulate exposed pipes: Use foam insulation or heat tape in attics, basements, and exterior walls.
- Seal cracks and drafts: Keep cold air from infiltrating around vents, outlets, or foundations.
- Keep faucets dripping: Maintain water flow to reduce freezing risk.
- Schedule regular inspections: Quick Response Restoration can identify cold spots or vulnerabilities before they cause trouble.
Why Professional Restoration Is the Final, Crucial Step
Even if your cleanup looks complete, hidden water can remain trapped under floors and behind walls. Over weeks, this unseen moisture causes mold growth, warped framing, and foul odors.
Professionals like Quick Response Restoration ensure your property is genuinely safe by:
- Measuring moisture content with specialized instruments.
- Performing air quality tests post‑cleanup.
- Providing verified documentation that structures meet dry‑standard benchmarks.
This professional verification is often required by insurance for final claim processing.
Final Word
When a pipe bursts, panic is natural—damage can escalate fast. But acting methodically using this checklist restores control: stop the water, secure safety, and call professionals at once.
With Quick Response Restoration handling both emergency plumbing and full restoration, homeowners gain rapid response, clean results, and peace of mind that the crisis ends once—and for all.

Robert Serafini serves as Quick Response Restoration’s cornerstone of Experience, Expertise, Authority, and Trust (EEAT). A dedicated member of the Quick Response team since 1998, Robert brings decades of hands-on restoration and insurance industry knowledge to every project. Prior to joining QR, he worked as an independent insurance adjuster, giving him a deep understanding of claims processes, policy interpretation, and customer advocacy.
Robert holds multiple IICRC certifications for fire, water, mold and has successfully managed numerous multi-million-dollar restoration projects, including large-loss and complex commercial assignments. His portfolio also extends internationally, where he has contributed to remediation efforts abroad.
Deeply rooted in the Capital District community, Robert is known for his generosity and civic involvement. He actively hosts and supports charity events benefiting local hospitals, schools, first responders, veterans, Catholic organizations, pet adoption, and local Chambers of Commerce. He is also an engaged member of several professional associations: Saratoga County Chamber, Adirondack Regional Chamber, NYS SFA Chapter, GCAR, ENYSHE and BOMA continuing to elevate industry standards and strengthen community ties.
Related Posts